Guide for the Creation & Use of Jabo 1.7 Format Textures
The first thing you should know is that Project64 1.7 Beta Emulator is no longer active and has ceased to function.
So instead you can use the Project64 3.x Stable Release, available in PJ64.Emu Downloads or the Nightly Development Builds (4.x). However, we strongly recommend to use Project64 3.x Stable Release as the development versions might break support for games and at some point, they will drop support for Jabo 1.7.
So grab Project64 3.x Stable Release to use with our recommended 1.7 plugin combination.
You can download these versions for use with 3.x from us below, with kind permission from Jabo and Zilmar. Thank you for this rare and thoughtful privilidge!
1) Locate the Emulator installation folder
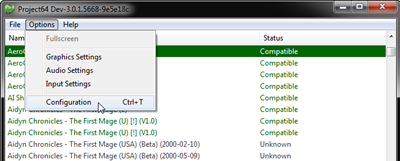
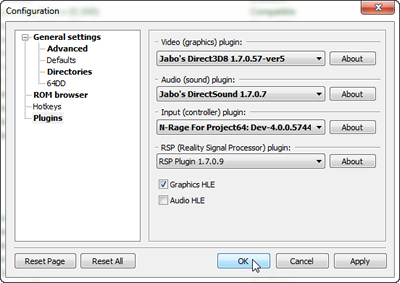
Open Project64.exe and Click on Options and then Configuration
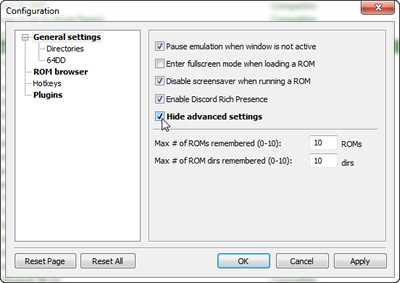
On the General settings tab uncheck the "Hide advance settings" checkbox to do to allow Jabo 1.7 Video Plugin its full options to be displayed.
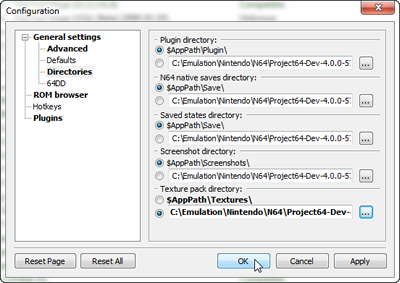
Once that is done, Make sure you change the Texture pack directory to texures-load when using 3.x with Jabo Texture Packs, as the defualt path is Tetures. Click Ok to save and close the dialog.
2) The next step is that you simply select all 1.7 plugins in the plugins select dialog onwards it is compatible) with texture dumping and loading (it is configured by default) The selection of plugins below is our recomendation for both dumping and playing, no matter if 3.x.
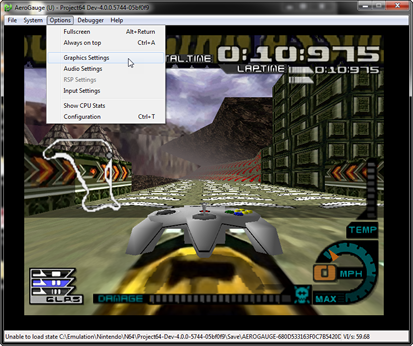
From here the tutorial really starts, it all boils down to simply running the game you want to dump or extract the textures from.
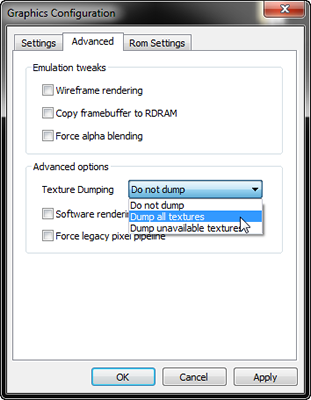
3) We go to Options ==> Configure Graphics plugin ==> Advance tab => Textures Dumping ==> All textures and then click Ok (it is recommended to do this when you reach the part where you want to extract the textures)
4) Play and Play because the emulator does not dump all the textures at once, only what you see will be saved, or rather the textures that the emulator shows as you play.
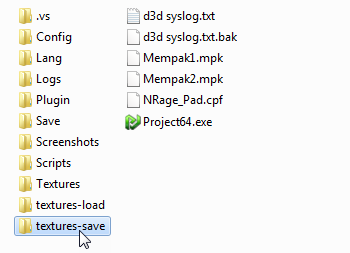
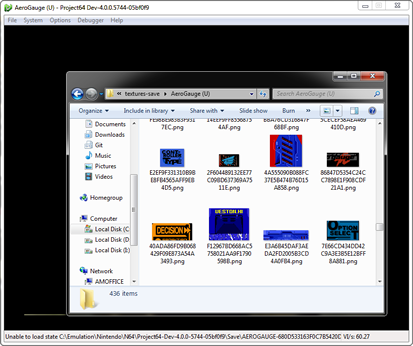
5) Copy the Dumped textures in that folder to the textures-load Folder:
In Project64 3.x ===> Project64 3.x\textures-load
Or if you did not do it already, set a route for texture packs to textures-load
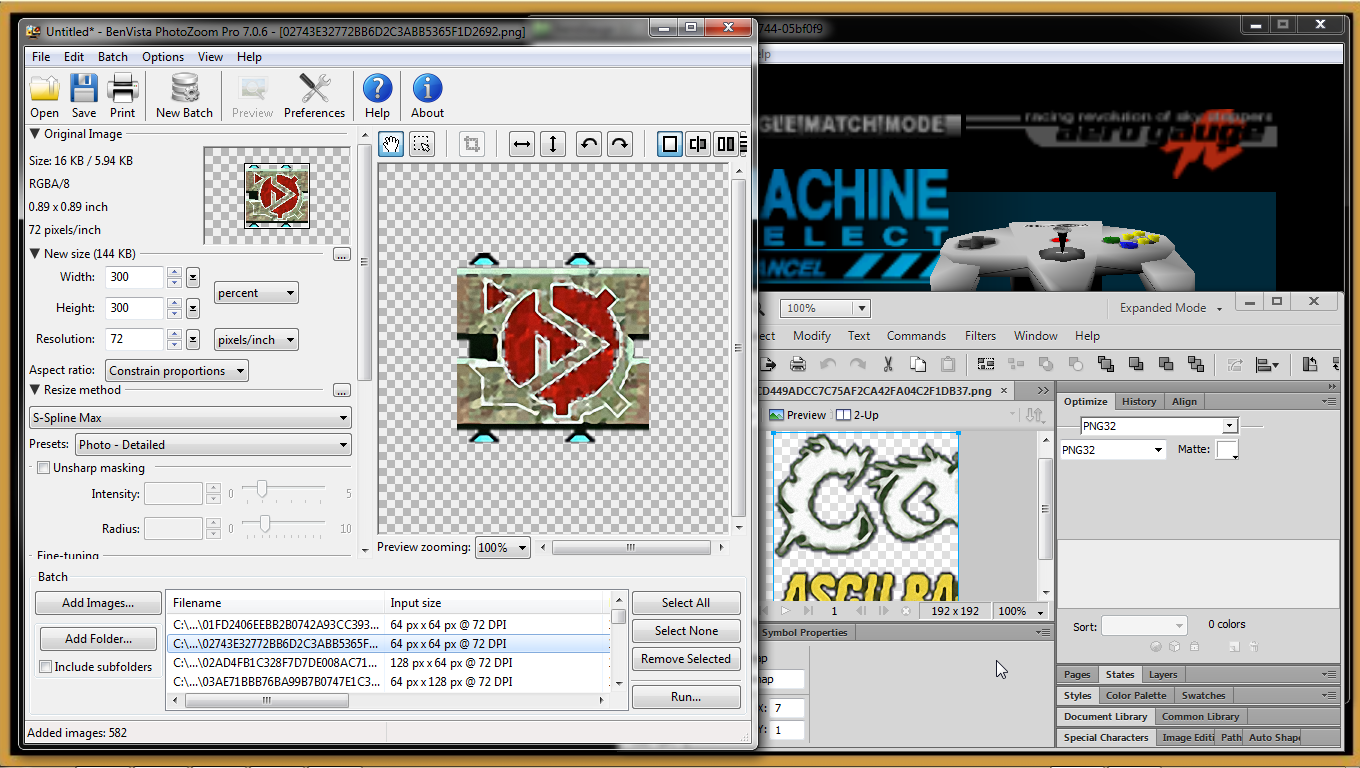
6) You are now free to edit the texture in the folder you want, in this case, open Fireworks, Photoshop, paint.net gimp Etc... We leave it to your liking, when changing the resolution of the image do it in a way proportional.
- If these were your initial attributes 32x16 --> it could be 64x32 or 128x64
- and when saving them choose PNG format
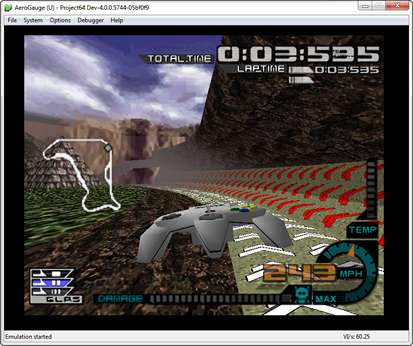
7) Enjoy the results of your work!
--------------------------
Creation of .ZIP Packages for the Distribution of Textures
In short, this method is little known but it would be good if we use it for the best way to create texture packs so that the end-user can just place the pack anywhere they would like and then import it into the textures-load folder via Jabo's 1.7 Video Plugin's special feature.
Preparing the archive for use with Jabo 1.7 Video Plugin:
1) So the format we will be using is this:
Rom Internal Name Folder (= Images or Sub Folders with images)
XML File (pack.xml) and ReadMe (Information on pack)
Creating pack.xml file
2) The first thing we do is open the notepad or norepad++ and paste this in there to later replace it with the textured game data.
<?xml version="1.0" encoding="UTF-8"?>
<pack>
<supported>
<rdb> Roms version code (1) </rdb>
<rdb> Roms version code (2 ) </rdb>
<rdb> Roms version code (3) </rdb>
<rdb> Roms version code (4) </rdb>
<rdb> Roms version code (5) </rdb>
</supported>
<author> Texture creator </author>
<version> Version number </version>
<description> Texture pack name </description>
</pack>
3) And then we save it with the name pack.xml (in lowercase) but of course, we leave it open to replace the data at once.
4) Then we go to the emulator folder and look for the Project64.rdb file. After that we open it, when doing so this does not appear and we select the notepad or notepad ++. To search in notepad or notepad++ you press Ctrl + F, to then search for the CRC1-CRC2-Country Code of the Game.
5) When we go searching for the game, we search for the Game name, but only need the CRC1-CRC2-Country Code.
You just have to copy the code shown in purple, Without the brackets [ ]
[ D83045C8-F29D3A36-C:50 ]
Good Name= AeroGauge (E) (M3)
...........
...........
...........
[ 80F41131-384645F6-C:4A ]
Good Name= AeroGauge (J) (V1.1)
...........
...........
...........
[ AEBE463E-CC71464B-C:45 ]
Good Name= AeroGauge (U)
...........
...........
...........
6) As we look for them, we place them in the pack.xml file that we created, if you closed the pack.xml by mistake, reopen it again. Now we have to search for AeroGauge all regions and placed all the CRC1-CRC2-Country Codes for them all like below.
<?xml version="1.0" encoding="UTF-8"?>
<pack>
<supported>
<rdb> D83045C8-F29D3A36-C:50 </rdb>
<rdb>80F41131-384645F6-C:4A </rdb >
<rdb>AEBE463E-CC71464B-C:45 </rdb>
</supported>
<author>Gent </author>
<version> 1.60 </version>
<description> Jabo 1.7 Texture Pack - AEROGAUGE - 1.6 - Gent </description>
</pack>
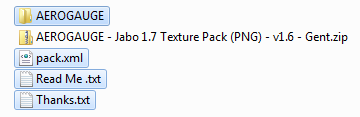
Now press Save and make sure it is in the correct structure like the previous example:
AEROGAUGE - Folder containing images or Subfolder with images)
pack.xml - Game CRCs, Author Name & Texture Packs Title
Read Me .txt - Information on Texture Pack & Instructions
7) Now that we have the textures folder and the pack.xml file ready, we proceed to compress it in " zip or rar " format. We do this by right-clicking on textures-load and select 7zip and then Add to "textures-load.zip or .rar"

Now we re-name it the zip, if the folder you made it in wasn't the correct name:
Example: AEROGAUGE - Jabo 1.7 Texture Pack (PNG) - v1.6 - Gent

8) Once the file is created, it is ready to be placed into the root directory of Project64 to be extracted and used.
Using Jabo Textures Downloaded from N64Textures
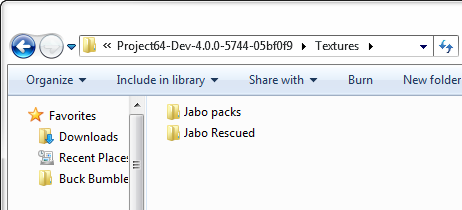
After downloading the Jabo Texture Packs, place them where ever you would like to store them.
For this example, we can place them all in Textures within Sub Folders
Now for the most amazing thing that you will ever witness!
Watch the video below to show how to install and select your Texture Packs downloaded from N64Textures.com for Jabo Video Plugin.
Do watch in Fullscreen, click the last icon bottom right. The same again, to return to Window Mode.
Remember if you want to change a Texture Pack, select what you want and then close Project64. When you re-open it and start to play, your chosen pack will be enabled.
That concludes the how to use Jabo 1.7 Format Textures Packs from N64Textures.com.
Published on March 10th, 2022